What is BlurHash?
BlurHash was created by Wolt and is open-sourced at github.com/woltapp/blurhash. It encodes an image’s color structure into a short string — typically 20–30 characters. On the client you decode that string into a small, blurry gradient image in milliseconds, entirely on-device. The placeholder appears the instant the view loads, before any network request completes, eliminating the blank-image flash that degrades perceived performance.
The algorithm is based on DCT (discrete cosine transform). The hash stores a handful of color coefficients, not pixels, so the result is always a soft gradient — never a blocky thumbnail.
Step 1 — Encode: image to string
Encoding is typically done server-side or at upload time to avoid unnecessary CPU work on the device. Wolt’s repository ships a Python script and a multiplatform CLI you can run from a terminal.
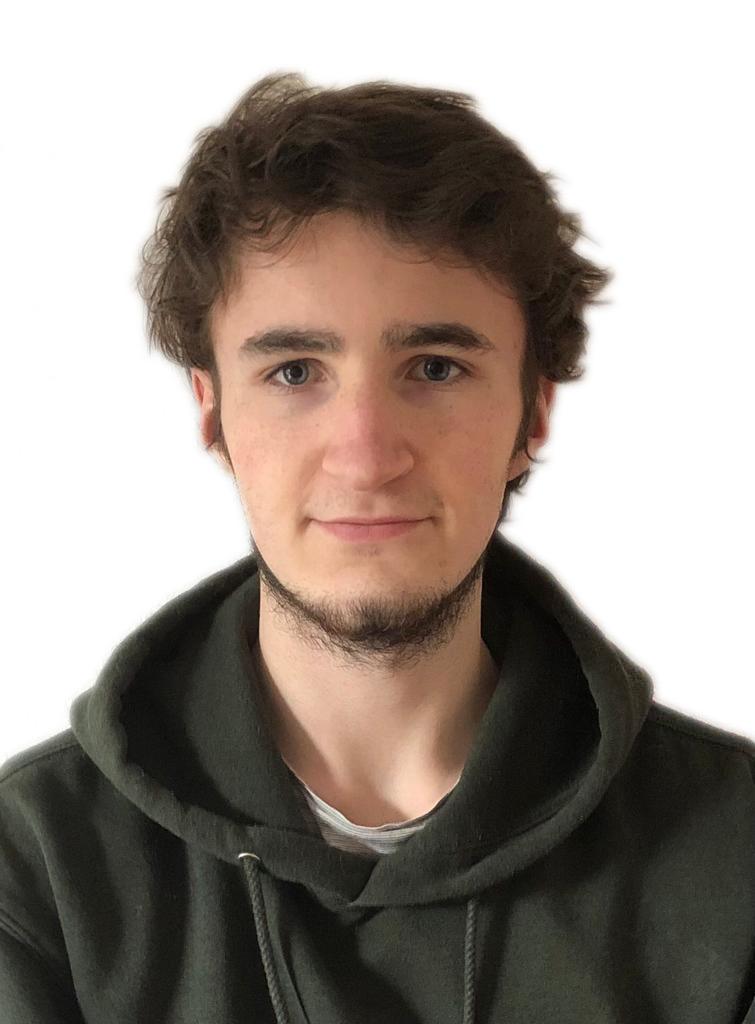
 The source image we encode and decode throughout this guide.
Using the Python encoder from the repository:
pip install blurhash Pillow numpy
from PIL import Image
import numpy as np
from blurhash import encode

image = Image.open("photo.jpg")
pixels = np.array(image)
hash = encode(pixels, x_components=4, y_components=3)
print(hash)
# → LGF5?xYk^6#M@-5c,1Ex@@or[j6
Using the TypeScript / Node CLI:
# One-off encode via npx (no install needed)
npx blurhash encode photo.jpg
# → LGF5?xYk^6#M@-5c,1Ex@@or[j6
Store the resulting string in your database alongside the image URL. It never changes for a given image.
Step 2 — Decode: string to UIImage
Drop BlurHashDecode.swift from the Wolt repository into your project. It has no dependencies and adds a single UIImage initializer:
extension UIImage {
    convenience init?(blurHash: String, size: CGSize, punch: Float = 1)
}
Decode at a small size — the image view scales it up, and the output is already blurry, so resolution above ~200 px wastes CPU:
let size = CGSize(width: 32, height: 48)            // safe fallback before layout
let placeholder = UIImage(blurHash: hash, size: size, punch: 1)
imageView.image = placeholder
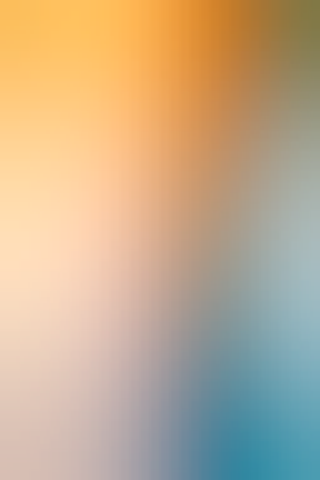 Step 2 — the raw decoded gradient, straight from the hash with no filtering.
The punch parameter controls the contrast and saturation of the decoded gradient. 1.0 is neutral. Values above 1 make colors more vivid; values below 1 flatten them toward grey. It is a multiplier applied to the AC components before rendering — useful for matching the look of the placeholder to your app’s aesthetic without touching the hash itself.
Performance note — scrolling lists. UIImage(blurHash:size:) is pure CPU work: it evaluates cosine transforms for every pixel. At small sizes this typically takes ~1–5 ms, which is negligible for a single image but can cause dropped frames when many cells decode simultaneously during fast scrolling. If you observe hitches in Instruments, move decoding off the main thread:
func loadPlaceholder(hash: String, size: CGSize) async -> UIImage? {
    await Task.detached(priority: .userInitiated) {
        UIImage(blurHash: hash, size: size)
    }.value
}

// In your cell configuration:
Task {
    let placeholder = await loadPlaceholder(hash: hash, size: size)
    await MainActor.run { imageView.image = placeholder }
}
Once the view has its final bounds, scale relative to those instead:
let scale = min(200 / bounds.width, 200 / bounds.height)
let size  = CGSize(width: (bounds.width  * scale).rounded(),
                   height: (bounds.height * scale).rounded())
Step 3 — Optional: improve visual quality with Core Image filters
The decoded image is already usable as a placeholder. The passes below are aesthetic tweaks — apply them if the raw output looks too contrasty or blocky for your design, not because BlurHash requires them.
There is one case where they are not optional. Take a near-black subject on a white background — a product shot like this t-shirt. With only 4×3 coefficients the DCT can’t represent that sharp dark-to-light edge, so the raw decode overshoots and clips the center to pure black: a black hole.
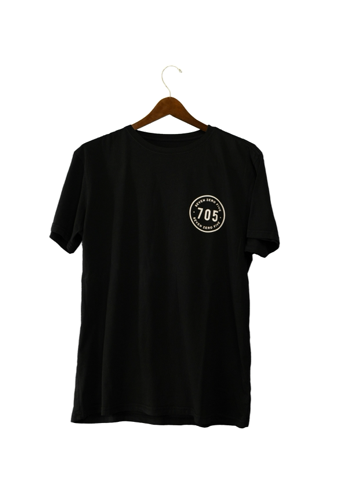 The source: a near-black subject on white — the kind of high-contrast image that breaks a raw decode.
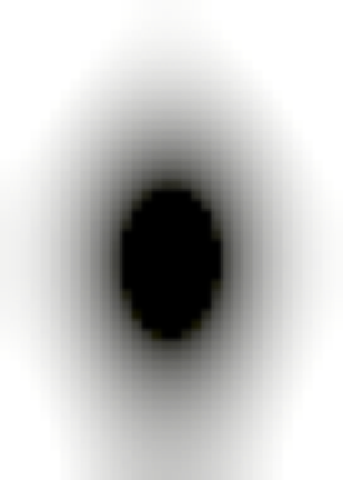 The raw decode — the over-dark center clips to pure black. No app should show this.
Share one CIContext across all calls — constructing one per image initializes a GPU pipeline every time:
private let ciContext = CIContext(options: [.useSoftwareRenderer: false])
Pass 1 — Tonal compression narrows the contrast range symmetrically toward the midpoint, preventing jarring dark-on-light or light-on-dark placeholders:
func compressTones(_ image: UIImage) -> UIImage {
    guard let ci = CIImage(image: image),
          let filter = CIFilter(name: "CIColorMatrix") else { return image }
    // Scale each channel toward 0.5: out = in * 0.65 + 0.175
    filter.setValue(ci, forKey: kCIInputImageKey)
    filter.setValue(CIVector(x: 0.65, y: 0, z: 0, w: 0), forKey: "inputRVector")
    filter.setValue(CIVector(x: 0, y: 0.65, z: 0, w: 0), forKey: "inputGVector")
    filter.setValue(CIVector(x: 0, y: 0, z: 0.65, w: 0), forKey: "inputBVector")
    filter.setValue(CIVector(x: 0.175, y: 0.175, z: 0.175, w: 0), forKey: "inputBiasVector")
    guard let out = filter.outputImage,
          let cg = ciContext.createCGImage(out, from: ci.extent) else { return image }
    return UIImage(cgImage: cg)
}
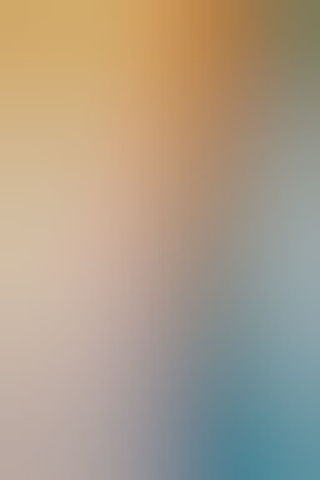 Step 3, Pass 1 — contrast pulled symmetrically toward mid-grey.
Pass 2 — Gaussian blur smooths the block boundaries between DCT components:
func smoothEdges(_ image: UIImage, radius: Float = 2) -> UIImage {
    guard let ci = CIImage(image: image) else { return image }
    let filter = CIFilter.gaussianBlur()
    filter.inputImage = ci.clampedToExtent()
    filter.radius = radius
    guard let out = filter.outputImage,
          let cg = ciContext.createCGImage(out, from: ci.extent) else { return image }
    return UIImage(cgImage: cg)
}
Apply both in sequence before setting the placeholder:
let processed = smoothEdges(compressTones(placeholder))
imageView.image = processed
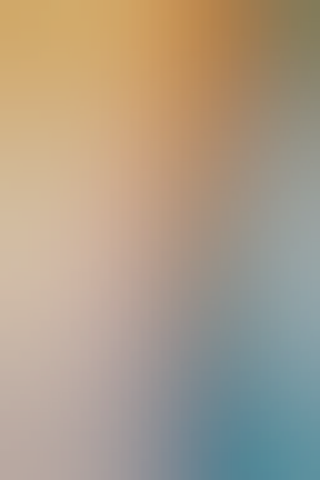 Step 3, Pass 2 — tonal compression plus Gaussian blur: the final placeholder.
Run those same two passes on the black-hole t-shirt and the failure case becomes presentable. Tonal compression lifts the clipped center out of pure black, and the blur dissolves its hard edge — the void becomes a calm grey placeholder. The lost detail isn’t recovered (it never existed in the hash), but the alarming black hole is gone:
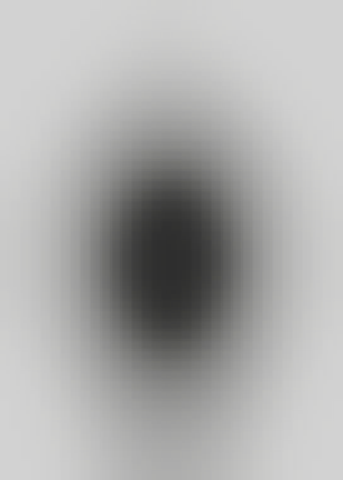 The same decode after Pass 1 + Pass 2 — the black hole is lifted into a neutral grey. For images like this, Step 3 isn’t optional.
Step 4 — Animate the real image in
Set the processed placeholder synchronously, then load the real image asynchronously. Cancel any in-flight task on reuse to prevent stale writes:
var loadTask: Task<Void, Never>?

func load(url: URL, hash: String, into imageView: UIImageView) {
    loadTask?.cancel()

    let raw = UIImage(blurHash: hash, size: CGSize(width: 32, height: 48))
    imageView.image = raw.map { smoothEdges(compressTones($0)) }

    loadTask = Task {
        guard let (data, _) = try? await URLSession.shared.data(from: url),
              let image = UIImage(data: data),
              !Task.isCancelled else { return }
        await MainActor.run { reveal(image, in: imageView) }
    }
}
When the real image arrives, snapshot the placeholder as an overlay and cross-dissolve it away. A UIBlurEffect layered on top rises to a peak halfway through the dissolve and then clears — the same frosted-glass shimmer the GIF above shows (blur ∝ sin(π·t)), rather than a blur that simply fades out from full to none:
func reveal(_ image: UIImage, in imageView: UIImageView) {
    let overlay = UIImageView(image: imageView.image)
    overlay.contentMode = imageView.contentMode
    overlay.frame = imageView.bounds
    overlay.autoresizingMask = [.flexibleWidth, .flexibleHeight]

    let blurView = UIVisualEffectView(effect: nil)   // starts clear; peaks mid-transition
    blurView.frame = imageView.bounds
    blurView.autoresizingMask = [.flexibleWidth, .flexibleHeight]
    blurView.isUserInteractionEnabled = false

    imageView.image = image          // real image at the back
    imageView.addSubview(overlay)    // placeholder above it
    imageView.addSubview(blurView)   // frosted glass on top of the whole composite

    UIView.animateKeyframes(withDuration: 0.4, delay: 0, options: [.allowUserInteraction]) {
        // Cross-dissolve the placeholder away across the whole animation.
        UIView.addKeyframe(withRelativeStartTime: 0, relativeDuration: 1) {
            overlay.alpha = 0
        }
        // Frosted-glass shimmer: blur rises to a peak at the midpoint…
        UIView.addKeyframe(withRelativeStartTime: 0, relativeDuration: 0.5) {
            blurView.effect = UIBlurEffect(style: .systemUltraThinMaterial)
        }
        // …then clears by the end, matching the GIF's sin(π·t) shimmer.
        UIView.addKeyframe(withRelativeStartTime: 0.5, relativeDuration: 0.5) {
            blurView.effect = nil
        }
    } completion: { _ in
        overlay.removeFromSuperview()
        blurView.removeFromSuperview()
    }
}
The placeholder cross-dissolves into the sharp photo, briefly frosting over at the midpoint before resolving — no blank flash, no hard cut.
Step 4 — the blurred placeholder dissolves into the sharp photo, with a frosted-glass shimmer mid-transition.
Step 5 — Optional bonus: decode on the GPU with Metal
The background-thread approach in Step 2 keeps the main thread free, but the CPU still does the pixel math. You can eliminate that entirely by writing a Metal compute kernel — the GPU evaluates every pixel in parallel instead of one at a time.
The kernel receives the decoded DCT components as a buffer and writes one pixel per GPU thread:
kernel void decodeBlurHash(
    texture2d<float, access::write> outTexture [[texture(0)]],
    constant float4 *components               [[buffer(0)]],  // rgb per component, w unused
    constant uint2  &gridDimensions           [[buffer(1)]],
    uint2 gid [[thread_position_in_grid]]
) {
    const uint W = outTexture.get_width(), H = outTexture.get_height();
    if (gid.x >= W || gid.y >= H) return;

    float3 color = float3(0.0);
    for (uint j = 0; j < gridDimensions.y; j++)
        for (uint i = 0; i < gridDimensions.x; i++) {
            float basis =
                cos(M_PI_F * float(i) * (float(gid.x) + 0.5) / float(W)) *
                cos(M_PI_F * float(j) * (float(gid.y) + 0.5) / float(H));
            color += components[j * gridDimensions.x + i].rgb * basis;
        }

    float3 v = clamp(color, 0.0, 1.0);
    float3 srgb = mix(v * 12.92, 1.055 * powr(v, 1.0/2.4) - 0.055, step(float3(0.0031308), v));
    outTexture.write(float4(srgb, 1.0), uint2(gid.x, H - 1 - gid.y));  // Y-flip for CIImage origin
}
On the Swift side, parse the hash string into components on the CPU (trivially fast — it’s just string decoding), then dispatch the kernel and wrap the result as a CIImage so the tonal-compression and blur filters from Step 3 chain on without a CPU readback:
func decode(components: [(Float, Float, Float)], numX: Int, numY: Int, size: CGSize) -> CIImage? {
    // Create a writable texture
    let desc = MTLTextureDescriptor.texture2DDescriptor(
        pixelFormat: .rgba8Unorm, width: Int(size.width), height: Int(size.height), mipmapped: false
    )
    desc.usage = .shaderWrite
    let texture = device.makeTexture(descriptor: desc)!

    // Upload components as float4 (w=0) — avoids float3's 16-byte alignment ambiguity
    var packed = components.map { SIMD4<Float>($0.0, $0.1, $0.2, 0) }
    var dims = SIMD2<UInt32>(UInt32(numX), UInt32(numY))

    // Dispatch — every pixel runs simultaneously on the GPU
    let cmd = queue.makeCommandBuffer()!
    let enc = cmd.makeComputeCommandEncoder()!
    enc.setComputePipelineState(pipeline)
    enc.setTexture(texture, index: 0)
    enc.setBuffer(device.makeBuffer(bytes: &packed, length: packed.count * 16, options: .storageModeShared), offset: 0, index: 0)
    enc.setBuffer(device.makeBuffer(bytes: &dims,   length: 8,                  options: .storageModeShared), offset: 0, index: 1)
    enc.dispatchThreadgroups(
        MTLSize(width: (Int(size.width) + 15) / 16, height: (Int(size.height) + 15) / 16, depth: 1),
        threadsPerThreadgroup: MTLSize(width: 16, height: 16, depth: 1)
    )
    enc.endEncoding()
    cmd.commit()
    cmd.waitUntilCompleted()  // must be called off the main thread

    // Return a CIImage backed by the texture — no CPU readback yet.
    // Chain the Step 3 filters on top; a single createCGImage call renders everything.
    let srgb = CGColorSpace(name: CGColorSpace.sRGB)!
    return CIImage(mtlTexture: texture, options: [.colorSpace: srgb])
}
Because CIImage(mtlTexture:) keeps the data on the GPU, you can pipe the result straight into the Step 3 filters before the single ciContext.createCGImage call at the end — decode, tonal compression, and blur all become one GPU pass with zero intermediate CPU copies.
This is only worth adding if you are already profiling GPU headroom. For most apps the background-thread approach from Step 2 is sufficient.
Tips
| Tip | Why |
|---|---|
| Encode once, store the string | Never encode on-device; do it at upload time or in a build script |
| Decode at ≤200 px | The image view upscales it; larger sizes waste CPU for no visible gain |
| Decode off the main thread (if needed) | Only necessary in fast-scrolling lists; profile first before adding the complexity |
Share one CIContext |
GPU pipeline init is expensive — one instance per app is enough |
| Cancel on reuse | Call loadTask?.cancel() in prepareForReuse to avoid stale writes |
| Skip the placeholder on cache hit | If the image is already in memory, assign it directly and skip the animation |